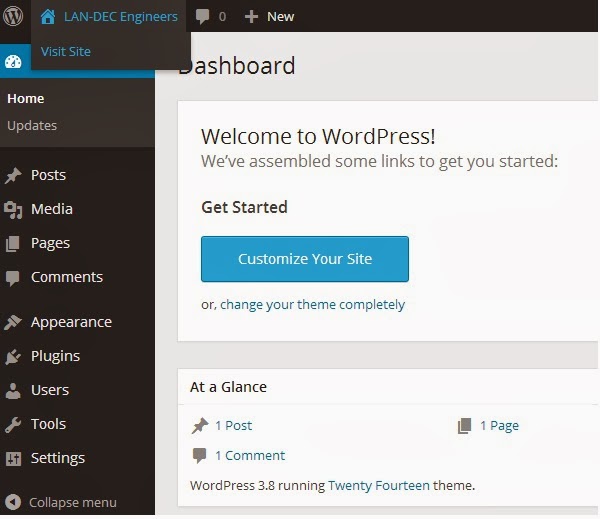
Open the web site we created ( explained in Introduction to Wordpress ) , and login to get access to the Admin area.
Step - 1 : Refer Designing a simple wordpress site -Theme
Step - 2 : Refer Designing a simple wordpress site - Pages
Step - 3 : Refer Designing a simple wordpress site - Plugins
Step - 2 : Refer Designing a simple wordpress site - Pages
Step - 3 : Refer Designing a simple wordpress site - Plugins
STEP - 6
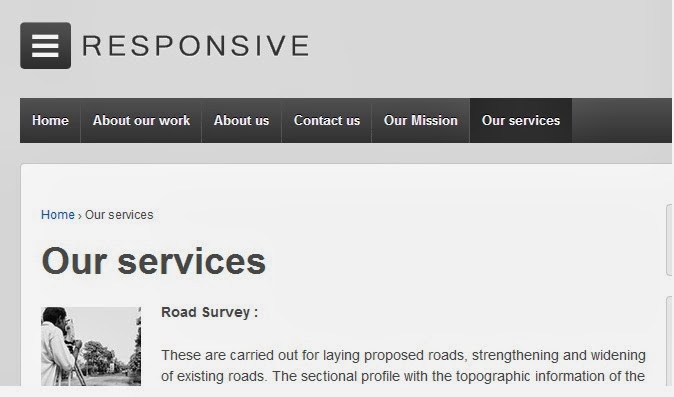
In the tutorial "Designing a simple wordpress site - Pages" , we are re-designing the HOME page.
See the complete HOME page design,
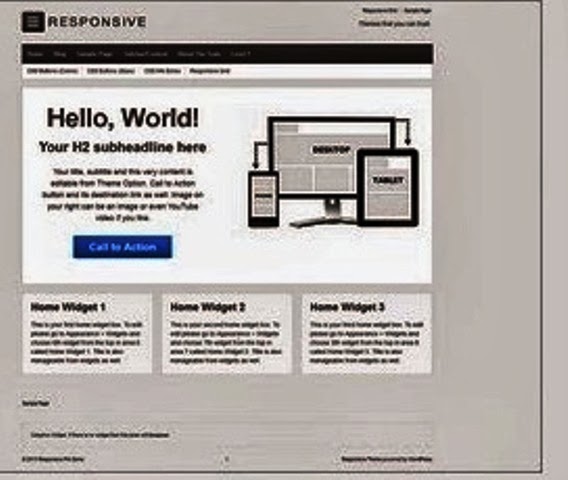
We changed the 1st part of the web site (instead "Hello World" , we include "LAN-DEC Engineers" etc.
That is ,
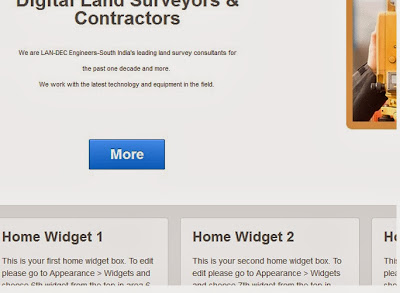
Note the below portion as Home Widget 1 , Home Widget 2 & Home Widget 3 .
Note the below portion as Home Widget 1 , Home Widget 2 & Home Widget 3 .
Now we have to change this .
Refer Designing a simple wordpress site - Plugins also .
In the admin panel ,take the option Appearance --> Widget
The widget in the admin area are (Except in the HOME page) ,


Drag each items , we do not want in the pages , to the left side , where there is a place for keeping the inactive widgets.
I kept SEARCH only .All the inactive widgets are thus moved to the corresponding area , as


Refer Designing a simple wordpress site - Plugins also .
In the admin panel ,take the option Appearance --> Widget
The widget in the admin area are (Except in the HOME page) ,
And see the page with widgets in the site as ,

Drag each items , we do not want in the pages , to the left side , where there is a place for keeping the inactive widgets.
I kept SEARCH only .All the inactive widgets are thus moved to the corresponding area , as

In the admin panel ,take the option Appearance --> Widget , only one widget remains then , as
Refresh the site , and we can see that , there is only one widget (SEARCH) remains .

To change the HOME page widget ,
Goto Appearance --> Widget , you can see there Home Widget 1 , Home Widget 2 & Home Widget 3 .
Drag the widgets from the left side to the first widget (say , Home Widget 1 ).
If you want to include any other widget , which is not there in the left side widget list , then click Plugins --> Add new .
Install the plugin you want ,
then go to Appearance --> Widget again , select that installed widget , drag and drop to Home Widget 2 ..etc.
Repeat the steps.
You can understand this portion only if you covered all the other 5th steps , given above.
Difference between Plugin and Widget :
You may have this doubt now ...
Simply telling , a Plugin will give you a Widget.
Or , in order to get a Widget , we have to install corresponding Plugin .
Steps I did in designing the rest portion of the web site :
- There are 3 widgets in the HOME page of the site. First goto Appearance--> Widget and Drag the "Calendar" widget to Home Widget 1 .
- Installed and activated a plugin named "Black Studio TinyMCE Widget" . It is wordpress editor.It will help us to input text in both visual and HTML mode.Again visited to Appearance--> Widget and drag the installed Black Studio widget to Home Widget 2 . Gave the title as "Join us on FB" (Visual mode) , and click "Save" .Then Installed and activated a plugin named "Facebook like box .Then goto Appearance--> Widget and Drag the widget to Home Widget 2 .
- Downloaded a plugin named "Loading Page" (Google search) and uploaded it to the Admin panel.Then activate it, and goto Appearance--> Widget and Drag the widget to Home Widget 3 .
=========================================================================