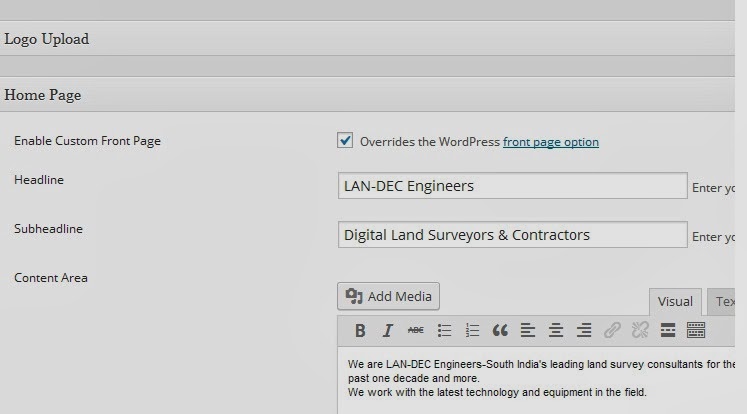
Open the web site we created ( explained in Introduction to Wordpress ) , and login to get access to the Admin area.
Step - 1 : Refer Designing a simple wordpress site -Theme
Step - 2 : Refer Designing a simple wordpress site - Pages
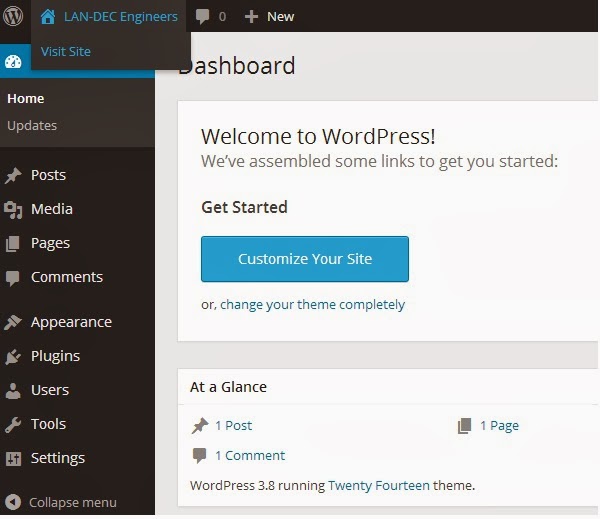
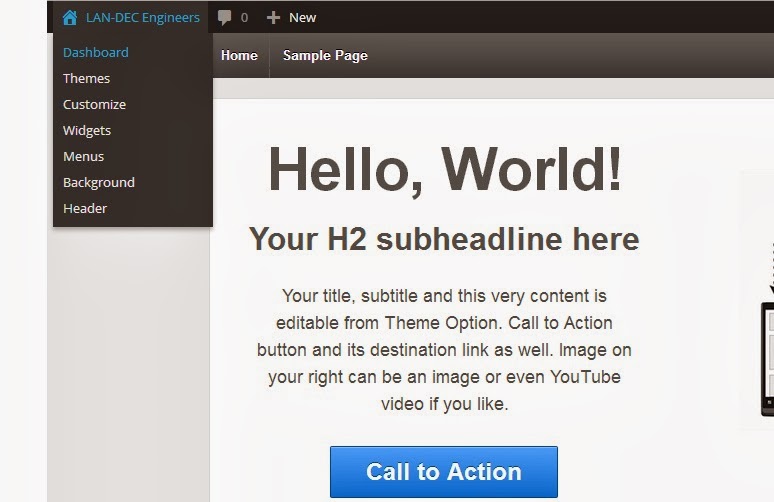
Go to the Admin page (Dash board) .
See the Admin options in the left side.
Now we are going to add Plugins .
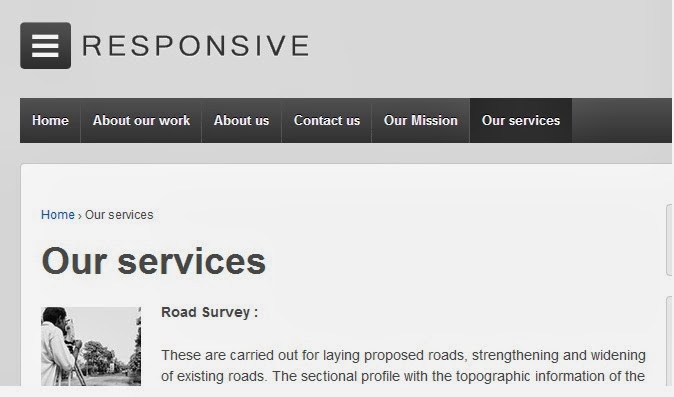
Contact form is an Example of Plugin.We are going to add a contact form in the page "Contact us".

Then we can see ,

Search "Contact Form" .
Then we can see a number of plugins of "Contact Form" .

Select one Plugin from the list , and click "Details" .

It will show the version and ratings of the Plugins.(If the plugin is not support with your current wordpress version , it has to be avoided. Or , we can see a message sometimes as
"Warning: This plugin has not been tested with your current version of WordPress." Avoid such plugins.
If everything is ok , select one contact form from the list and Click "Install Now" as given in the above picture.When we click "Install" , we can see;

Click "Activate Plugin ".After activating , we can see a new menu option "Contact Form" in the left side as shown below :

Or , select Plugins --> Installed plugins . Then we can see that ;

Click "Settings" , then , we can see

Copy the short form of the code as given in the above figure .
Now select our page "Contact us" , as explained before , select the "Text" mode and paste the code there.

Now click "Update" , and return to the site .Refresh it , then we can see,below the Google map , a contact form also added as given below :

Refer Designing a simple wordpress site - Widget also, because we are installing some more plugins there , in order to get some additional widgets.
========================================================
Next , we are going to Create/ Edit comment forms .
Click NEXT to understand about "Comment option" in a wordpress page.
Back to wordpress
Step - 1 : Refer Designing a simple wordpress site -Theme
Step - 2 : Refer Designing a simple wordpress site - Pages
STEP - 3
Picture - 1
Go to the Admin page (Dash board) .
See the Admin options in the left side.
Now we are going to add Plugins .
Contact form is an Example of Plugin.We are going to add a contact form in the page "Contact us".
- Select Plugins --> Add new (Click Add New from the window)
Then we can see ,
Search "Contact Form" .
Then we can see a number of plugins of "Contact Form" .
Select one Plugin from the list , and click "Details" .

It will show the version and ratings of the Plugins.(If the plugin is not support with your current wordpress version , it has to be avoided. Or , we can see a message sometimes as
"Warning: This plugin has not been tested with your current version of WordPress." Avoid such plugins.
If everything is ok , select one contact form from the list and Click "Install Now" as given in the above picture.When we click "Install" , we can see;
Click "Activate Plugin ".After activating , we can see a new menu option "Contact Form" in the left side as shown below :
Click "Settings" , then , we can see
Copy the short form of the code as given in the above figure .
Now select our page "Contact us" , as explained before , select the "Text" mode and paste the code there.
Now click "Update" , and return to the site .Refresh it , then we can see,below the Google map , a contact form also added as given below :
Refer Designing a simple wordpress site - Widget also, because we are installing some more plugins there , in order to get some additional widgets.
========================================================
Next , we are going to Create/ Edit comment forms .
Click NEXT to understand about "Comment option" in a wordpress page.
Back to wordpress