A : What is wordpress ?
WordPress is a free and open source blogging tool and a content management system (CMS) based on PHP and MySQL,which runs on a web hosting service.
Or, You can create web sites using wordpress.


MySql user name is root , you can write your database user name and password , instead .Others have no change


B : You can create a web site in the following 2 ways..
- You can create a wordpress site , by registering an account online , Click here and build your own wordpress site , by following the instruction.
- You can download wordpress by clicking here , and connect with your MySQL database , and can build a web site , and later it can be uploaded.
C : Steps for downloading Wordpress
- Download wordpress by clicking here
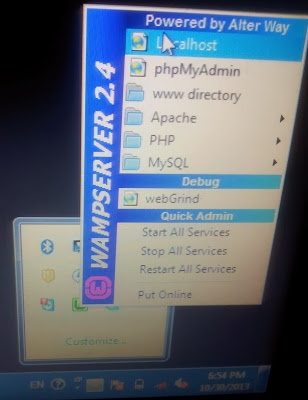
- Extract it to the www directory of Wampserver . You can take it from the folder , in which WAMP SERVER is installed , or see the oicture below .You can see the www directory there.
Refer Wamp servar & Create a database , if you have any doubt.
And open the local host , you can see the extracted wordpress folder there.
I named it Wordpress-new (Because there is already a file named wordpress.
Note that , you have to extract or copy the whole wordpress package, for each site.
Here I already created a site by extracting wordpress files to WAMP SERVER .So in order to create another site , I copied the whole wordpress files ( You can download wordpress by clicking here) once again , and named it as wordpress-new . .
- And create a database for storing your wordpress site data (Refer Wamp servar & Create a database , if you have any doubt).
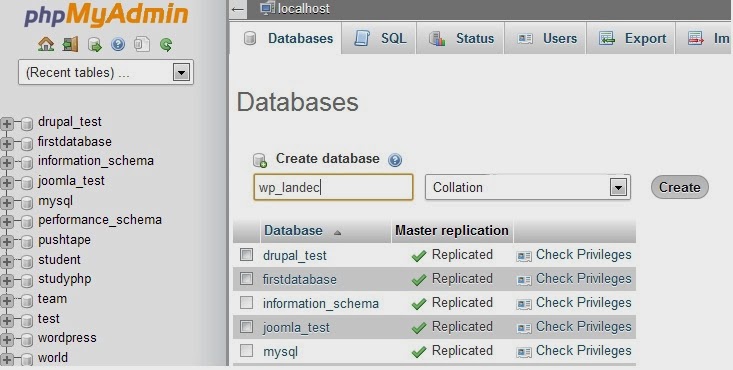
To do this , take phpmyadmin , and from the screen , click DATABASE.See the picture below :
I named the database as wp_landec .(wp is nothing but the short form of WORDPRESS ) .
- Then , again come to the local host , and click wordpress-new folder , to connect it with the created database.Then you can see ,
- Click the "Create a Configuration File" . Then you can see ,
- Click " Let's go! " . Then you can see,
Here , Database name is the name we created for storing wordpress site files (Remember I gave the name as wp_landec)
- Click " Submit" . Then we are ready to run wordpress , by connecting with the MySQL database.
- Click "Run the install" .
Now we have to give the site name , we want to create ... See the picture below :
I gave the site name as LAN-DEC Engineers , and see other information from the picture.
- Now click "Install WordPress" .
- Click "Log In" .
- Enter the user name and password you gave with the site name (site title) , see the picture .
If you click "Back to LAN-DEC Engineers" , you will lead to the site .
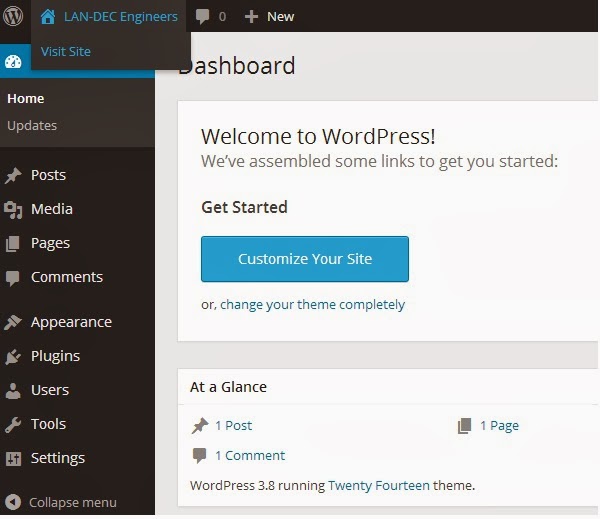
If you click "Log In" , then it will lead to the Admin area of the site . See the picture below :
From the top , you can Visit the site named LAN-DEC Engineers .
Tip :
http://localhost/wordpress-new/ this is the address of my wordpress site, because here , I am not hosting the site online.(To know how to HOST a site , click here)
And to access the Admin Panel of this site , use wp-admin also.
That is http://localhost/wordpress-new/wp-admin/ )
http://localhost/wordpress-new/ this is the address of my wordpress site, because here , I am not hosting the site online.(To know how to HOST a site , click here)
And to access the Admin Panel of this site , use wp-admin also.
That is http://localhost/wordpress-new/wp-admin/ )